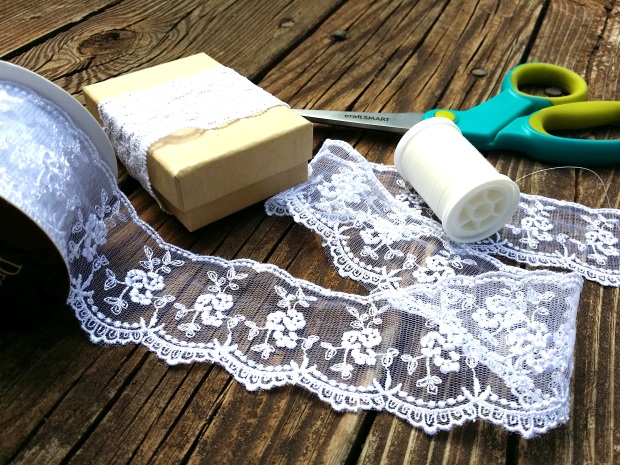
Materials
- stretch lace
- thread
- either sewing machine or needle
- scissors


This project is super super easy with a lot of potential uses. I first made these in white-on-white as a wedding decoration, but they also make adorable additions to your holiday decor or even a child’s room. If you want to use these on a christmas tree, I recommend using 2 strips together for each light instead of just one. That way the color really stands out against the dark green of the tree.
Project Time: 15 mins (depends on the length of your strand of lights)
Approximate Cost: $3-8

Make your own “Bride” or “Bachelorette” sash!
This custom sash is great for bachelorette parties, bridal showers, baby showers, etc.
I got the idea to make this recently as maid of honor for a friend. I wanted to get her a sash and veil for her bridal shower and bachelorette party but couldn’t find any that I liked in stores. After deciding to make my own sash with ribbon, I still couldn’t find any nice letters, so I decided to take matter into my own hands.
Project Time: 30 min – 1 hr active time, 5-6 hr of total drying time
Approximate Cost: < $10

A cute little DIY project for your wedding cake table, bridal shower, and just because!
Project Time: 1.5 hr
Approximate Cost: < $10

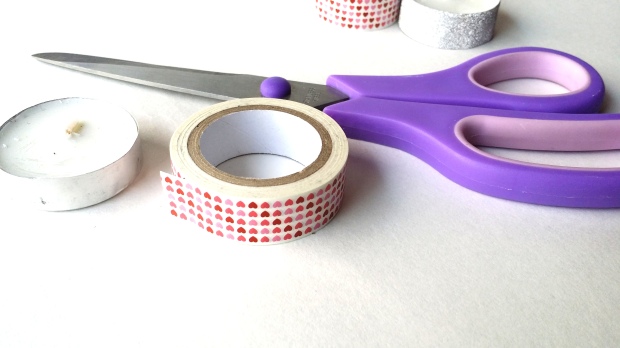
For this week’s Tuesday Tip, here is something simple you can do to add a cute, easy, (and cheap!) finishing touch to your wedding tables, bridal shower, or party decor.
You will need a few simple items:
All of these items are available at your local craft store, Walmart, or best of all…Dollar Tree!
The tea lights I used here are leftover from a wedding, and they are a little short. If your tape ends up being wider than your candles, just make sure to wrap the tape where the excess is at the bottom. That way there is no chance of the tape catching on fire. Also, you can always trim the tape to fit the width of the tea light.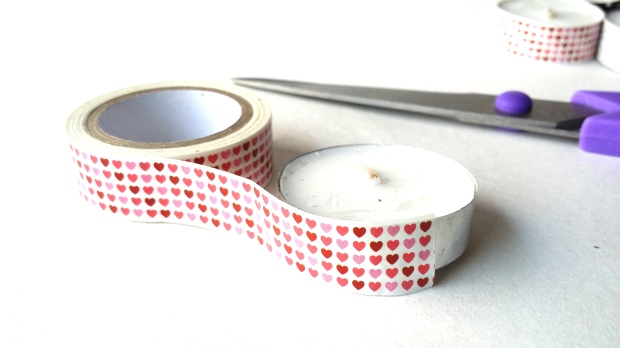
Wrap the tape around the tea lights, and clip in excess.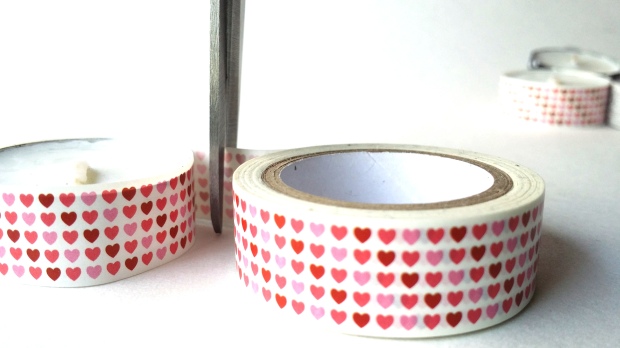
That’s it! Super simple!


As promised, today we’ll be sharing a tutorial on DIY clay pendants. Wait, wait, wait! Don’t leave! I know making anything with clay sounds like a daunting task, but believe it or not, these are really easy to make!
First, you’ll need a few things. You might already have some of these:
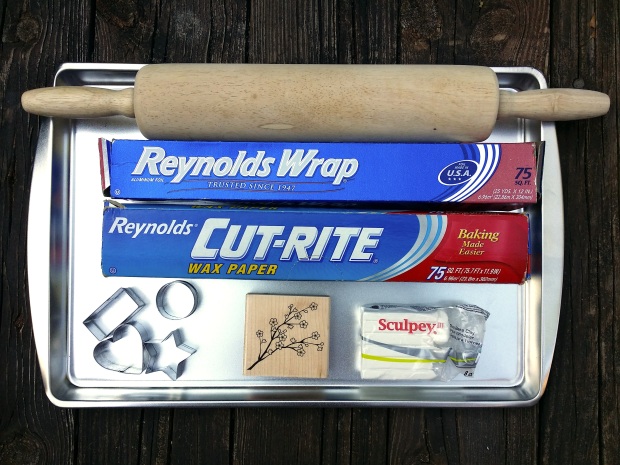
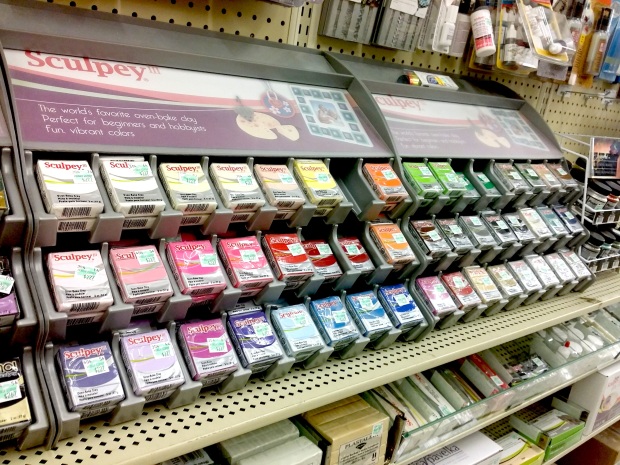
If you don’t know about Sculpey, then this is going to blow your mind. Sculpey is an awesome clay that you can bake in your kitchen oven. No kiln needed! I don’t recommend making cups or pots or anything with it, but for smaller things that you aren’t going to eat off of, it’s perfect! My package of Sculpey shown is already open (sorry), and I’ve decided to use white for this demonstration so I can also show you what it looks like painted. Oh, did I mention this clay comes in about a million colors some of which are GLITTERY? Oh yes, my friends!
Ok, on to the good stuff!


Time to bake! Follow the instructions for baking found on the package. I’m not sure if it’s the same for the metallic or other brands. (Preheat your oven to 275. Bake for 15 minutes.)
After the pendants have cooled, you’ll be able to paint them if you like. I quite like them unpainted, but painting them is fun and can yield some cool looking results. When I paint my clay pieces, I like to do a faux ceramic look. For this you’ll need acrylic paint, brushes, and sculpey glaze. I like the high gloss glaze, but there is matte available as well.
To get a faux ceramic look, I paint into the recessed areas where I stamped, let it dry a little (not all the way!), and then wipe the excess paint with a wet paper towel.


Next, you need to apply the high gloss glaze. It’s really very simple, just paint it on after the acrylic paint is completely dry. Reapply after 30 minutes until you get the look you want!


Perhaps DIY is something you’ve never considered before, but it can open up a world of possibilities for you in your wedding planning and funding process. Of course, you don’t want to bite off more than you can chew, don’t try to do the entire wedding yourself. Figure out what things you are capable of doing and then turn that into a project or two that you and your family and friends can do.
Money, Money, Mooooney
First and foremost, if you don’t have a huge budget every cent makes a difference. It could be the difference between getting the dress you love versus the dress you like. It could mean being able to get those shoes you’re dying for or adding a veil. It could be money that you add to your honeymoon fund, house fund, or baby fund. DIY will allow you to cut out some extra costs. For example, if you opted for printable invitations instead of printed ones, you would basically be paying for just the supplies rather than also paying for someone else’s labor. Granted, you will have to put a little work into it, but it could save you $200.
You’ve got the whole world in your hands
Who doesn’t want their wedding customized? You can make it into what ever you want! Of course, we realize that not every one has our super awesome crafty skills or the know-how, so in the coming weeks we are going to be adding some ideas and easy tutorials on making and customizing a variety of items for your wedding. Also, don’t forget about Pinterest, it’s a great free resource for that type of thing!
You won’t have to hear “I can’t believe she stole my…”
Well, unless, of course, you actually did steal something.
Along the lines of being able to customize, if you get creative with it, you’ll have something totally unique to you.
A Bonding Moment
Sitting together and working for a few hours on things for your special day can be a nice way to spend some quality time with those closest to you. If you can talk your fiance/ee into it, working on a wedding DIY project together could give you such a special keepsake. In 20 years, you can show your kids the stuff you did together and proudly say “Look! We made this for our wedding!”
What kinds of things have you DIYed?
